Cookie Management with Cookiebot (GTM)
 Patrycja Szurgacz
Cookiebot consent management platform (CMP) provides transparency and control over all cookies and tracking on websites. Cookiebot focuses on three core functions: consent to store, monitor, and control cookies, making it simpler to comply with privacy regulations.
In Landingi, you can install Cookiebot for each landing page separately using Google Tag Manager (GTM).
This guide will show you how to install Cookiebot on your landing page. Before you get started, you will need to install and configure the Tag Manager and container for your landing page. Read more about adding Google Tag Manager in Landingi Help Center or go to Google's post on Tag Manager.
There are few more tools you can integrate Landingi with that can help you manage your cookies and privacy policy:
Sign up for Cookiebot
1. Before setting up a tag in GTM, create an account in Cookiebot.
2. In the Domains tab, add your subdomain/domain and click on Save.
Remember that:
- each subdomain is treated separately, e.g. sub1.domainname.com, sub2.domainname.com, and sub3.domainname.com should be added separately,
- dominname.com and www.domainname.com are treated as 1 domain, just add one of them,
- a domain with a path and its parent domain are treated as 1 domain, e.g. if you add sub1.domainname.com, then the banner or policy page will work with an HTML widget also for sub1.domainname.com/cookie_policy, sub1.domainanme.com/consent, etc. It is not necessary to add such domains with a path to Cookiebot.

If you created your Cookiebot CMP account before September 18th, 2023, you would have used Cookiebot Manager and a slightly different interface:

3. Add new domain groups if you want to use different settings or banner styles for specific domains.
4. You will find the Domain group ID in the Implementation tab, under the Installation guides section. Copy it. You will add it in GTM later.

If you are using a version of Cookiebot Manager prior to September 18, 2023, you will find the ID in the Your scripts section:

Set up a Cookiebot tag in GTM
1. Log in to Google Tag Manager.
2. Go to Workspace and navigate to Templates.

3. In the Tag Templates section, click Search Gallery on the right and use the search engine to find Cookiebot CMP.

4. Select Add to workspace and click Add in a popup window.

5. Go to Tags and add a new tag.

6. In the Tag Configuration section, click on Choose a tag type and again use the search engine to find Cookiebot CMP.

7. Enter a name in the upper left corner. In the Cookiebot ID field, paste the ID you got from Cookiebot.

8. Scroll down to select a trigger.

9. Select Consent Initialization - All Pages.

10. Once the tag is configured correctly, click Save in the upper right corner.
Configure consent settings in GTM
1. GTM supports 5 different consent types by default, which Cookiebot automatically maps to 4 categories.
| GTM Consent Type | Mapped Cookiebot Type | Description |
| ad_storage | marketing | Enables storage (such as cookies) related to advertising |
| analytics_storage | statistics | Enables storage (such as cookies) related to analytics e.g. visit duration |
| functionality_storage | preferences | Enables storage that supports the functionality of the website or app e.g. language settings |
| personalization_storage | preferences | Enables storage related to personalization e.g. video recommendations |
| security_storage | necessary | Enables storage related to security such as authentication functionality, fraud prevention, and other user protection. Users will be informed about the specific storage purposes in the cookie declaration, but this type does not require consent from the end user. |

2. In the Default Consent State section, you can set which categories of cookies should be granted or denied before the user submits consent. You can change the default consent settings at any time. Go to the Tags tab, select the Cookiebot CMP tag twice and go to the Default Consent State section.
- By default, all categories are set to Denied.
- If you want to change the default, select Granted.
- The files required (necessary) category is set to Allow by default and cannot be edited.

3. To manage consent settings, activate Consent Overview.
Go to Admin > Container Settings.

Click on Enable consent overview.

4. You can find an overview in the Tags tab under the shield icon.

5. To adjust settings, select Cookiebot and click on the gear wheel icon.

6. You can bulk edit the settings (1) or individually for a selected type (2).

7. Follow this link for a guide to how to set up consent settings in Google Help.
8. When you're ready, click Submit in the upper-right corner of the GTM.
Install cookie consent banner on a landing page
Once your tag and banner are ready, install the Cookiebot code on your landing page.
1. In the Implementation tab in Cookiebot Admin, copy the first code and go to Landingi.

In the previous version of Cookiebot Manager, you can find the code in the Your scripts section:

2. Go to the Dashboard of your landing page with the Google tag installed and go to the JavaScript Codes tab to add a new script.
You can also access the Dashboard and the JavaScript Codes tab directly from the editor:

3. Enter a name (1) and paste the snippet in the Content (2) field. Select the Head (3) position for the Main page or Both (4) pages and click Add.

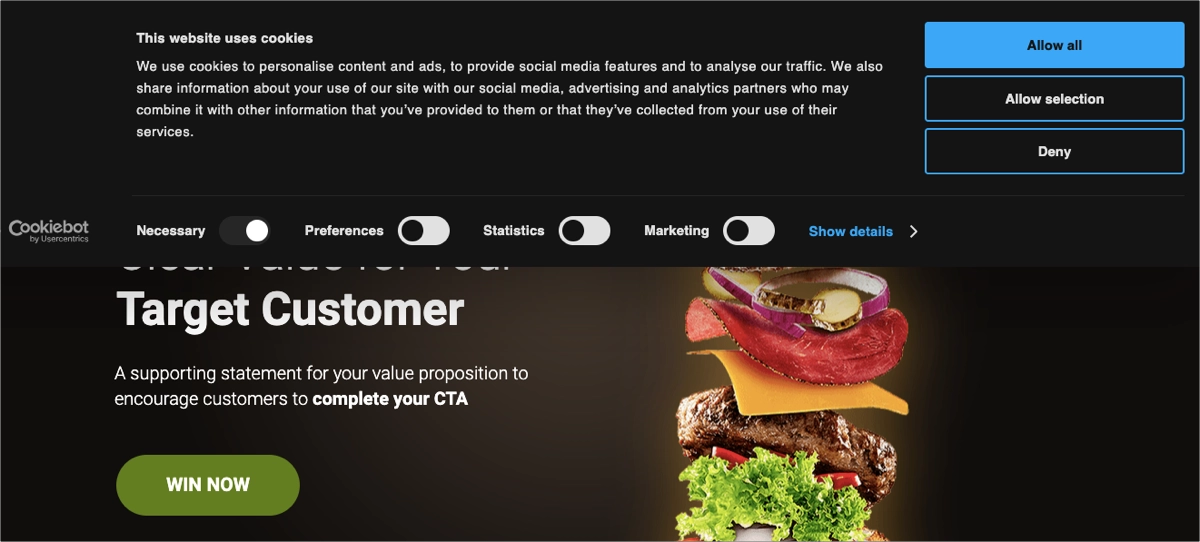
4. Go to your live landing page and verify whether the banner displays as expected.
TIP: If you use the background image for the whole landing page, users will see the settings box in the wrong size when they click on Cookie Settings in a consent banner. This is because the Cookiebot script attempts to add an overflow: hidden parameter to the code, which interferes with the background image. The solution is to remove the background for the entire landing page and add the image as a section background. Then Cookiebot will be able to add the overflow parameter.
Once you have correctly configured and installed Google Tag Manager and Cookiebot, the cookie consent banner should work as it is supposed to.
Here are links to Google Help with detailed guides to GTM and its consent management:
– Setup and Install Tag Manager
NOTE: Keep in mind that Cookiebot is a third-party solution and is continually being developed. We do our best to keep this guide updated, but if you come across any changes in the set-up process, let us know.
Browse all integrations in our Integrations Catalog to see tools you can connect Landingi with.
Was this manual helpful?

